
Carving Out Memories
Posted by Twana's Creation Gift Baskets on Sep 19th 2021
Halloween is one of the best holidays to create wonderful memories with your little boys and ghouls. From the cute to scary costumes, to the bellyaches from eating too much candy, there is so much to look forward to during this spooky time of the year.
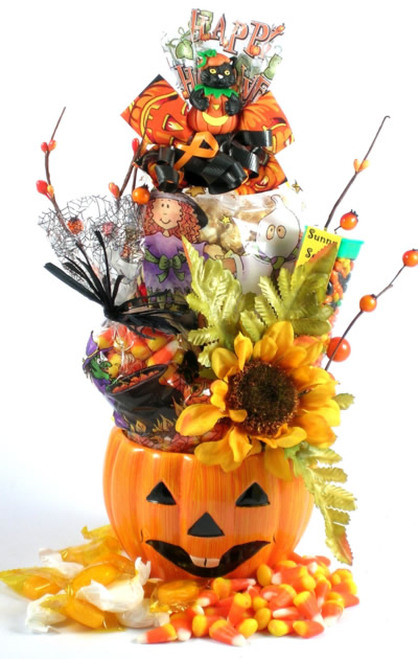
What a perfect gift for a Halloween lover of any age! A BOO-tiful Ceramic Jack-O'-lantern candy dish containing Gourmet Caramel Corn, Chocolate Candy Coated Sunflower Seeds, and Assorted Hard Candy.
One of my favorite memories were carving pumpkins with my 2 daughters. They were always excited as we picked the biggest and brightest orange one, happily carrying it through out the pumpkin patch, showing their trophies to anyone who glanced their way. The hard part for me was always the carving. Their big wide eyes looking towards me, thinking I'm the magician that will make all their jack o lantern dreams come true. What they didn't know, was that I had no clue what I was doing, After cutting off the top, it was all a mystery to me. So I am here to help you from being in a predicament like I was.
What you’ll need:
- Pumpkin
- Old newspapers
- Towel
- Small kitchen knife or pumpkin carving set
- Spoon
- Pencil
- Printed pattern
- Tape
- Needle
- Bleach
- Rubber gloves
- Candle or lamp
Step 1. Cut the Top
The first step is to cut out the top. Decide what will be the front and carve a V on the opposite side. This will help align the cap when you put it back on. Now cut all the way around the top. Cut at a 45 degree angle to give the cap a nice surface to rest on.
Step 2. Clean the Inside
Pull the cap off and start removing the insides by scooping and scraping with a spoon. Don't be afraid to use your strength here, the pumpkin can take it and those stringy insides can be pretty tough.
Thin out the wall a bit by scraping the soft inside layer away. I usually scrape the front a lot more, because a thinner wall there will make the carving easier and allow more light to shine through.
Step 3. Basic Carving Tips and Tricks
Now start carving. The simplest way to carve a pumpkin is to simply draw on a design with a pencil and then cut it out.
When carving, start with the smaller holes. The big holes will weaken the pumpkin, so once those are cut you'll have to be more careful and use less force.
For very small holes, like nostrils, it's good to carve at an angle so that the hole on the inside is larger than the hole on the outside. This allows more light to come through and it'll look much better.
If you accidentally cut off a section that you shouldn't, you can use a toothpick to stick it back in place. Come back with the kitchen knife to clean up all of the edges.
Step 4. Finishing Touches
When you're done, it's a good idea to disinfect your pumpkins so that they last a bit longer. Wash them in water with a little bit of bleach. Rinse them afterwards and dry them.
Now you can put a candle or a lamp inside and enjoy your work. When using a candle, don't leave the top on for longer than it takes to take a nice picture though. It will dry out and get black, and it could even burn.
Happy Halloween and have a SPOOK-takular time carving your pumpkins!
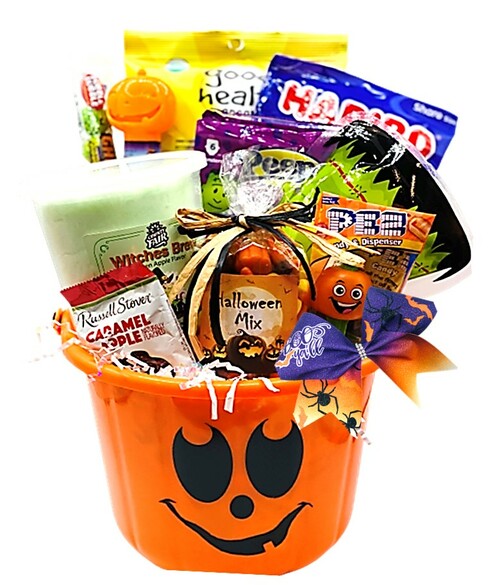
During these trying times, if safely Trick or Treating isn't an option, consider sending this gift basket to the little critters in your life.